Hakkımda

Kocaeli Üniversitesi İngiliz Dili ve Edebiyatı Bölümü mezunu olarak eğitim alanında 8 yılı aşkın deneyime sahibim. Özel Kocaeli Güneş Okulları'nda İngilizce öğretmeni ve İngilizce Zümre Başkanı olarak görev yapmaktayım. Bu süreçte öğrencilerin dil becerilerini geliştirmeye yönelik yenilikçi öğretim yöntemleri benimseyerek etkili bir öğrenme ortamı oluşturmaya gayret ettim.
Zümre başkanlığı görevimde ekip çalışmasını teşvik ederek eğitim müfredatının planlanması, materyal geliştirilmesi ve öğretmenlerin koordinasyonu gibi konularda sorumluluk üstlendim. Öğretmenlerle iş birliği içinde öğrencilerin akademik başarısını artırmaya yönelik çözümler sunmak ve okulumuzun eğitim kalitesini yükseltmek temel hedeflerim arasında yer aldı.
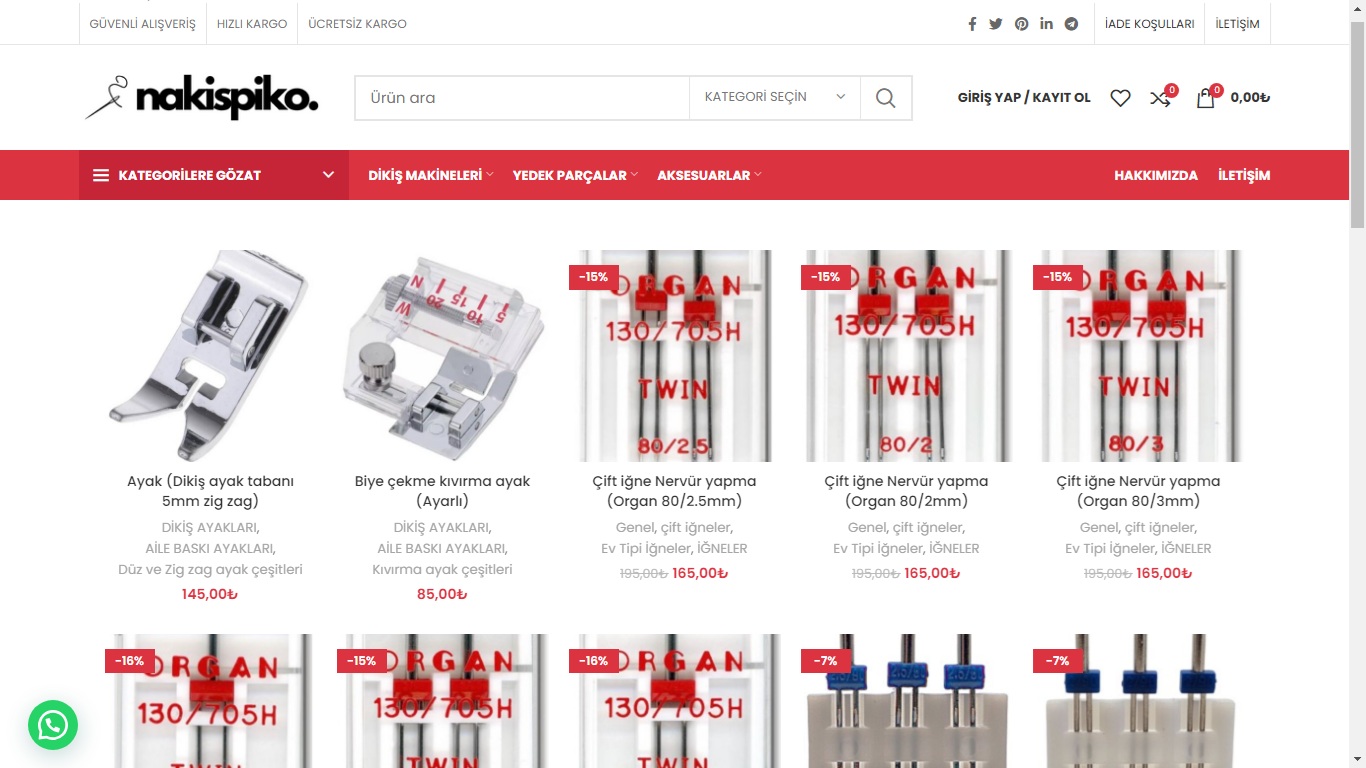
Eğitim alanındaki çalışmalarımın yanı sıra freelance olarak web geliştirme hizmetleri sunuyorum. Şirketler ve bireyler için ihtiyaçlarına uygun, kullanıcı dostu ve estetik web siteleri tasarlamaya odaklanıyorum. Hem teknik bilgi hem de tasarım yeteneklerimi birleştirerek pratik ve yaratıcı dijital çözümler üretmeye özen gösteriyorum.
Yenilikçi ve çözüm odaklı bir yaklaşımla hem eğitim hem de dijital projelerde katkı sağlamaya devam ediyorum. Öğrenmeye ve kendimi geliştirmeye olan ilgim, her iki alanda da daha ileri adımlar atmama olanak tanıyor.
.svg.webp)
As a graduate of Kocaeli University with a degree in English Language and Literature, I have over 8 years of experience in education. I currently work as an English teacher and the Head of the English Department at Özel Kocaeli Güneş Schools. Throughout my career, I have strived to create an engaging learning environment by adopting innovative teaching methods aimed at improving students' language skills.
In my role as the Head of the English Department, I have taken on responsibilities such as curriculum planning, developing educational materials, and coordinating teachers. By fostering collaboration among educators, I have focused on implementing effective solutions to enhance students' academic achievements and improve the overall quality of education at our school.
In addition to my work in education, I provide freelance web development services. I design and develop user-friendly and aesthetically pleasing websites tailored to the specific needs of companies and individuals. By combining technical expertise with creative design, I aim to deliver practical and innovative digital solutions.
With a forward-thinking and solution-oriented mindset, I continue contributing to both educational and digital projects. My passion for learning and self-improvement drives me to keep advancing in both fields.
What I'm Doing / Yaptıklarım
-
English Teaching / İngilizce Öğretmenliği

Ortaokul öğrencilerine etkili ve ilgi çekici yöntemlerle İngilizce öğretiyorum.
.svg.webp)
Teaching English to middle school students with engaging and effective methods.
-
Private English Lessons / Özel İngilizce Dersleri

Bireysel ihtiyaçlara uygun kişiselleştirilmiş bire bir İngilizce dersleri sunuyorum.
.svg.webp)
Offering personalized one-on-one English lessons tailored to individual needs.
-
Web Design / Web Tasarım

Modern, kullanıcı dostu ve yüksek kaliteli web site tasarımları oluşturuyorum.
.svg.webp)
Creating modern, user-friendly, and high-quality website designs.
-
Web Development / Web Geliştirme

Çeşitli ihtiyaçlar için tam işlevsel ve profesyonel web siteleri geliştiriyorum.
.svg.webp)
Developing fully functional and professional websites for various needs.


